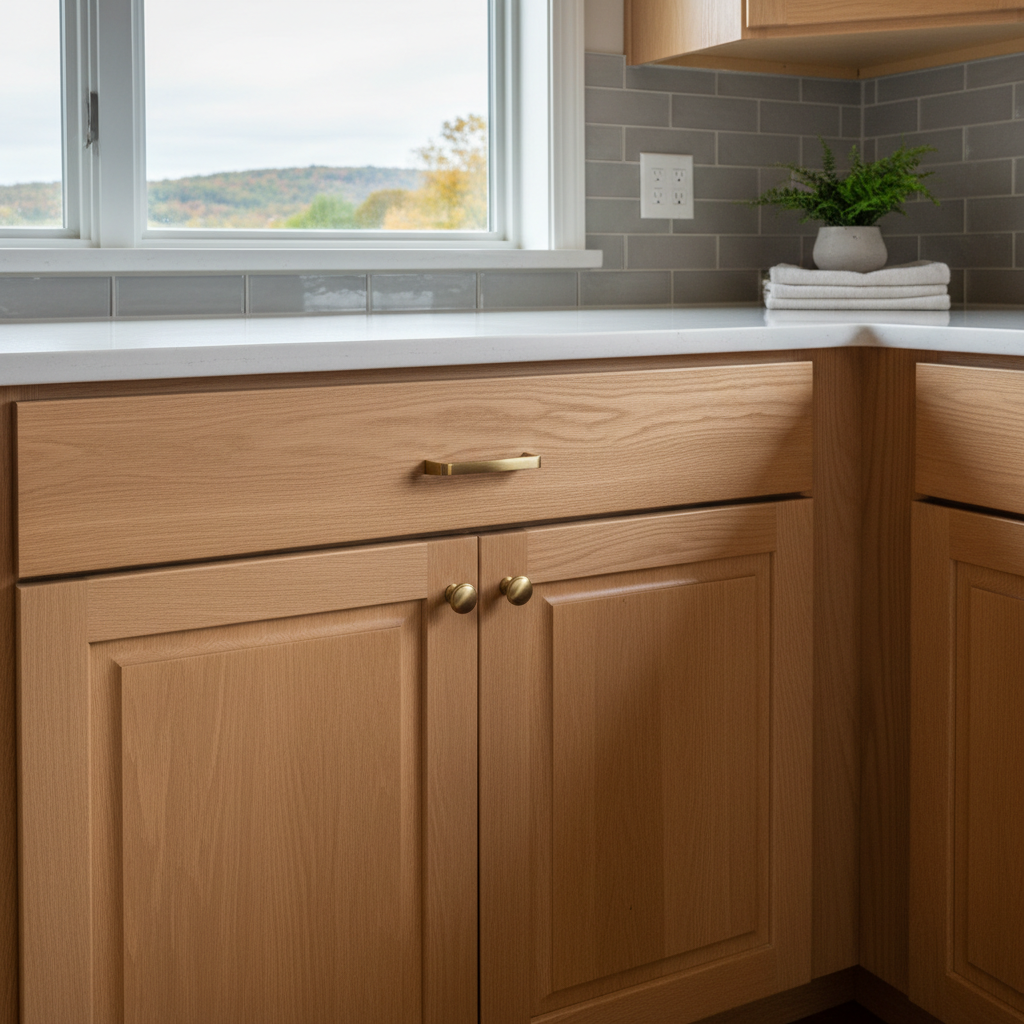
Hanging Kitchen Cabinets is not just about grabbing a drill and hoping for the best. If you have ever tried to level a run of boxes on an uneven wall in an 1850s historic home near downtown Galena, you know it can test your patience. Plaster walls love to bow, and old framing rarely sits plumb. Here is a straightforward look at what you can handle yourself and when you are better off bringing in backup from Mighty Kitchen Solutions for Kitchen Remodeling in Galena, IL.
Before the First Screw Goes In
Preparation is 90 percent of the battle. You cannot just slap kitchen cabinets onto the wall and expect them to hang straight. Start by finding your high spots on the floor using a laser level or a long spirit level. If your floor slopes, which happens a lot in older local homes, your base cabinets need to start from the highest point.
Next up is locating your studs. Do not trust tape measures alone. Old lath and plaster can make stud finders go haywire, so probing with a small fine bit is often the safest bet. Mark your lines clearly on the wall. This is a task most handy homeowners can knock out over a weekend if they take their time.
During the Install: DIY vs. Pro
Hanging upper kitchen cabinets is a two-person job minimum. One person holds while the other fastens, unless you are using a cabinet jack to support the weight. If you are moderately handy and have a good helper, you can manage hanging straight-run uppers. But corner units, heavy solid wood face-frame styles, and custom modifications demand experience. One wrong cut on a filler strip can ruin an expensive run of boxes.
Mighty Kitchen Solutions has stepped into plenty of DIY jobs where a kitchen cabinet was not anchored into a stud properly, pulling away from the drywall under the weight of heavy dishware. At Mighty Kitchen Solutions, our team makes sure every fastener bites deep into solid framing. Leveling uppers and scribing fillers to match crooked walls takes a steady hand that only comes with years of practice.
After the Hardware is Tight
Once everything is screwed to the walls and base platforms are secured, you still have work left. Adjusting hinges is an art form. Soft-close mechanisms need fine-tuning so doors align with even 1/8-inch gaps all the way around. Toe kicks need to be measured, cut, and nailed into place to give the whole setup a clean, finished look.
Step back and check your work. If drawers glide smoothly and doors close without catching, you have beaten the odds. If something binds or gaps look crooked, do not force it; back up and adjust the mounting screws before you load them down with your everyday kitchen gear.